Since we moved into our home three years ago, I’ve wanted to build a workbench so I would have an area to work on projects. I’ve done a few since moving in August 20, 2022: painting a lot of the rooms, painting the garage, making a spice rack out of a wooden pallet, painting book shelves, sanding down and painting a hutch, and more bookshelves. But I haven’t really built anything. The workbench would be the first building project.
I watched a lot of DIY videos on YouTube about building workbenches in preparation and finally settled on the following one here. I thought that one was simple enough to give it a go.
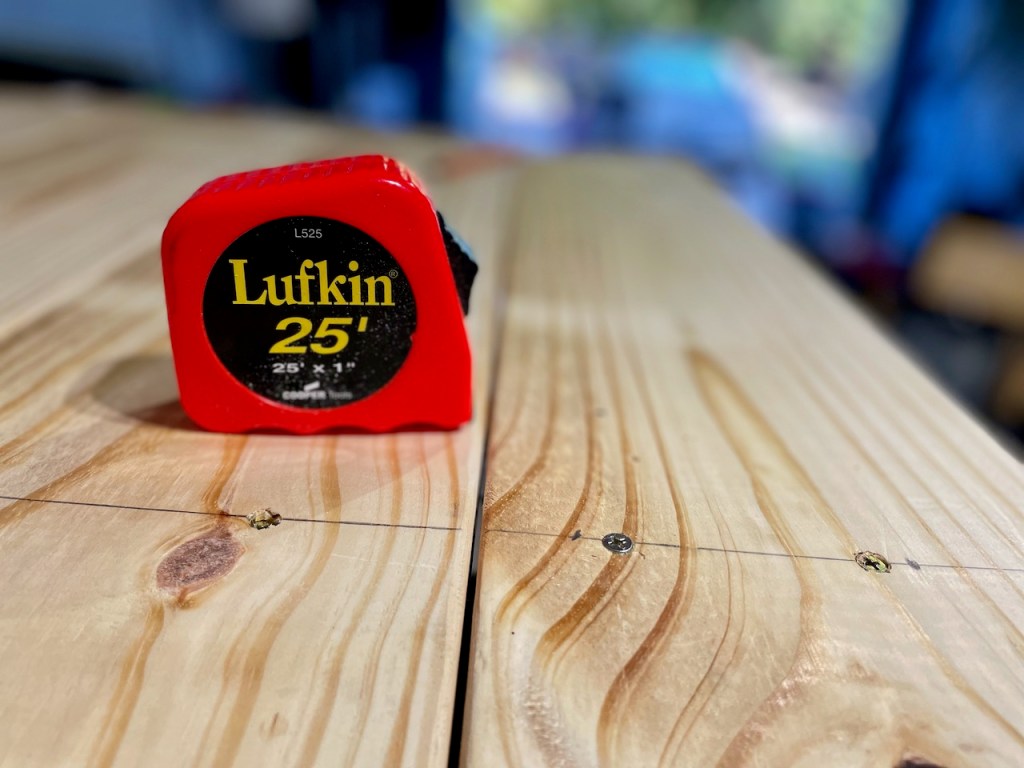
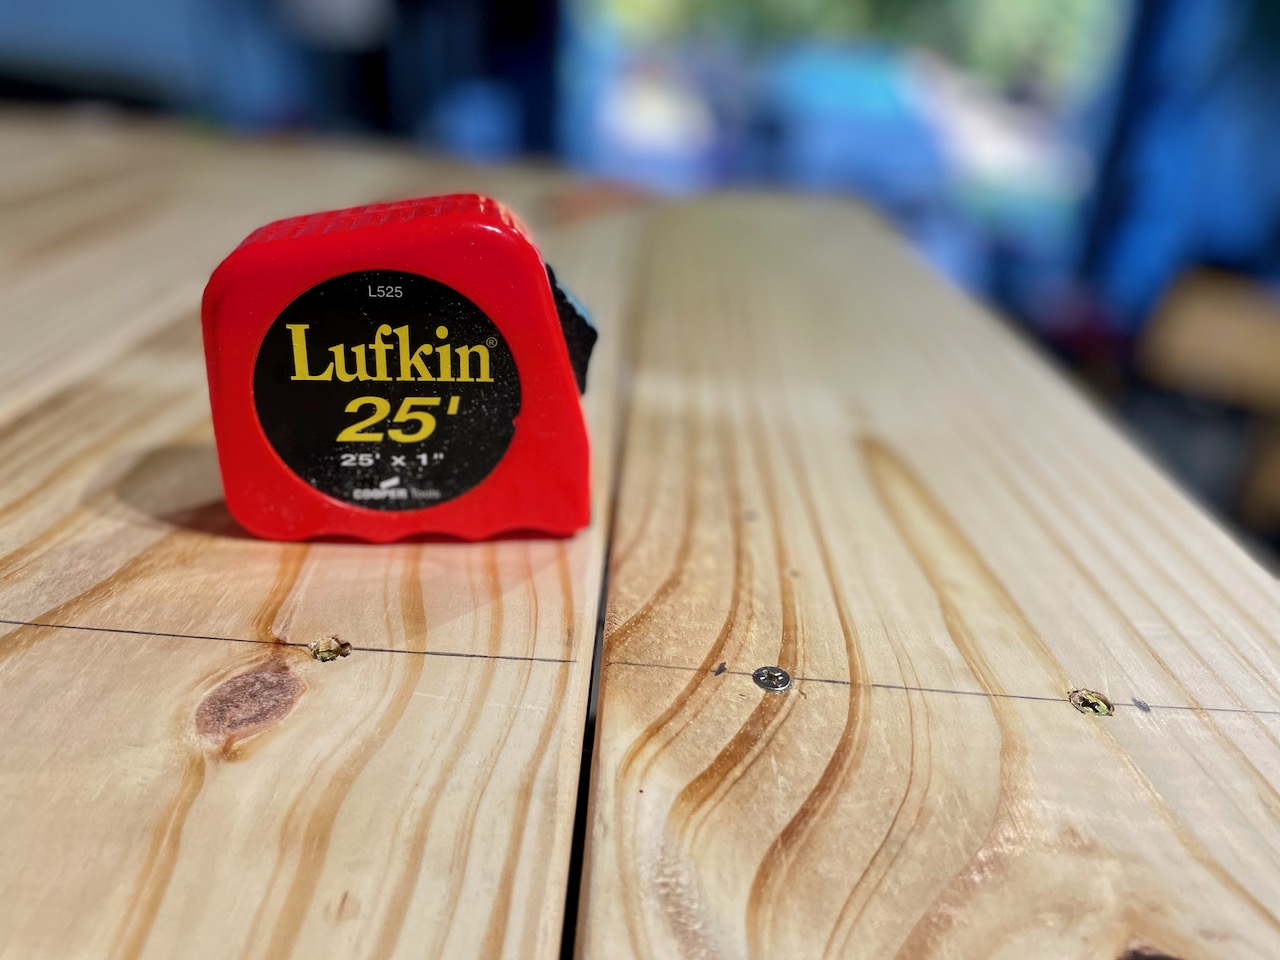
I bought the wood in early August and started on the 6th. Here are photos of my progress with commentary.
You can see the need for a workbench already. I had to start in the driveway.


Once I had the two sides put together, I had to put together the two sides. This is where the seeds of doubt began to sprout. I thought for sure the project would be a bust. Please notice the bungee cords I was using to try and hold it together while I put in the lag bolts. I ended up buying two large clamps.

My little helper.

It started to come together.

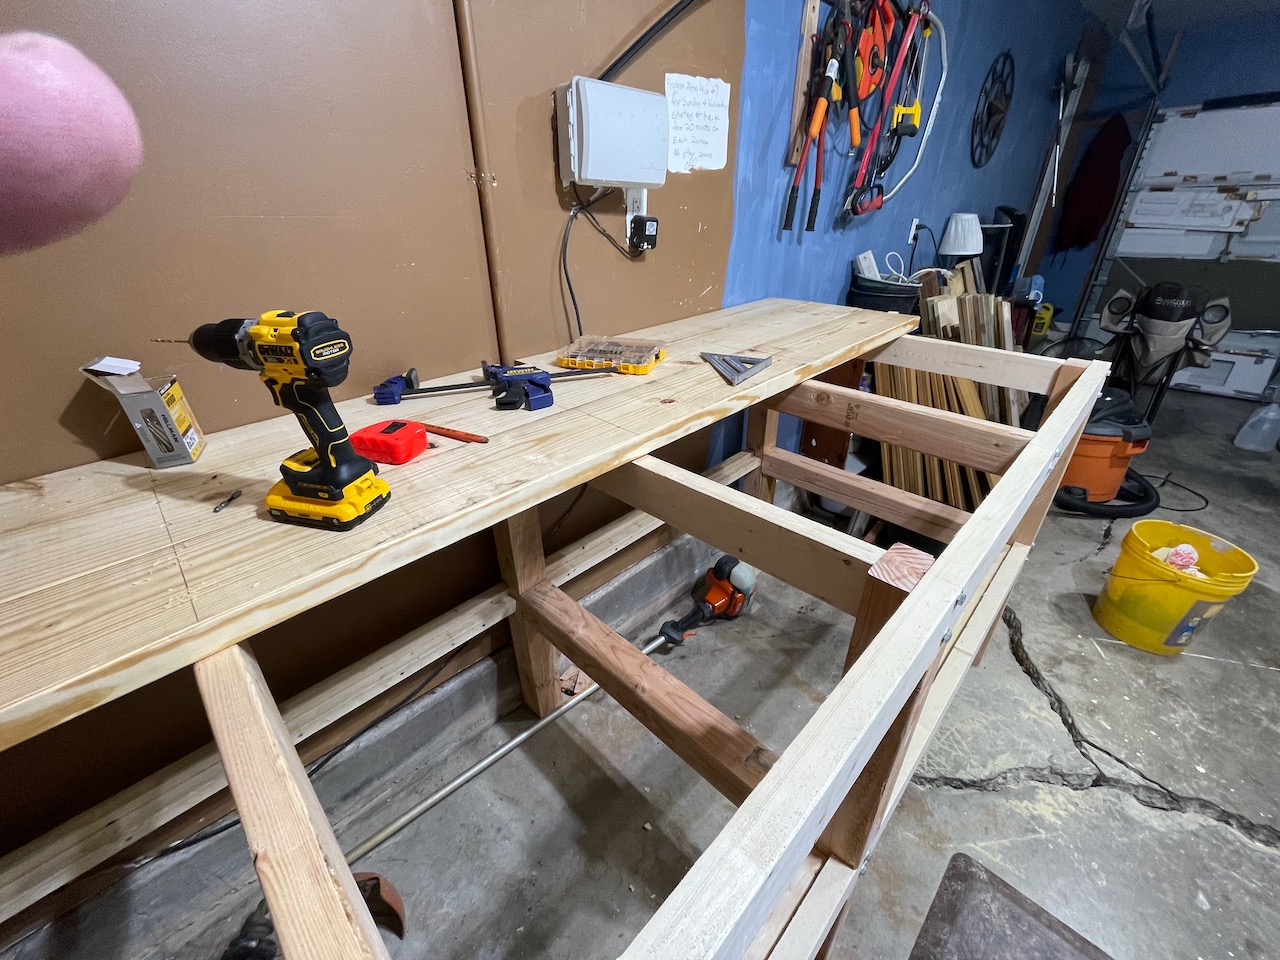
Once I had it set up, I realized that the way it was positioned, there would be no room to work off the edge of the table. My garage isn’t wide enough being only a single-car garage. I needed to turn it against the right wall, which caused a problem keeping it level. If you will notice down in the right-hand side of the photo, the big crack in the foundation of the garage? I had to use a brick to level it out once I turned it.
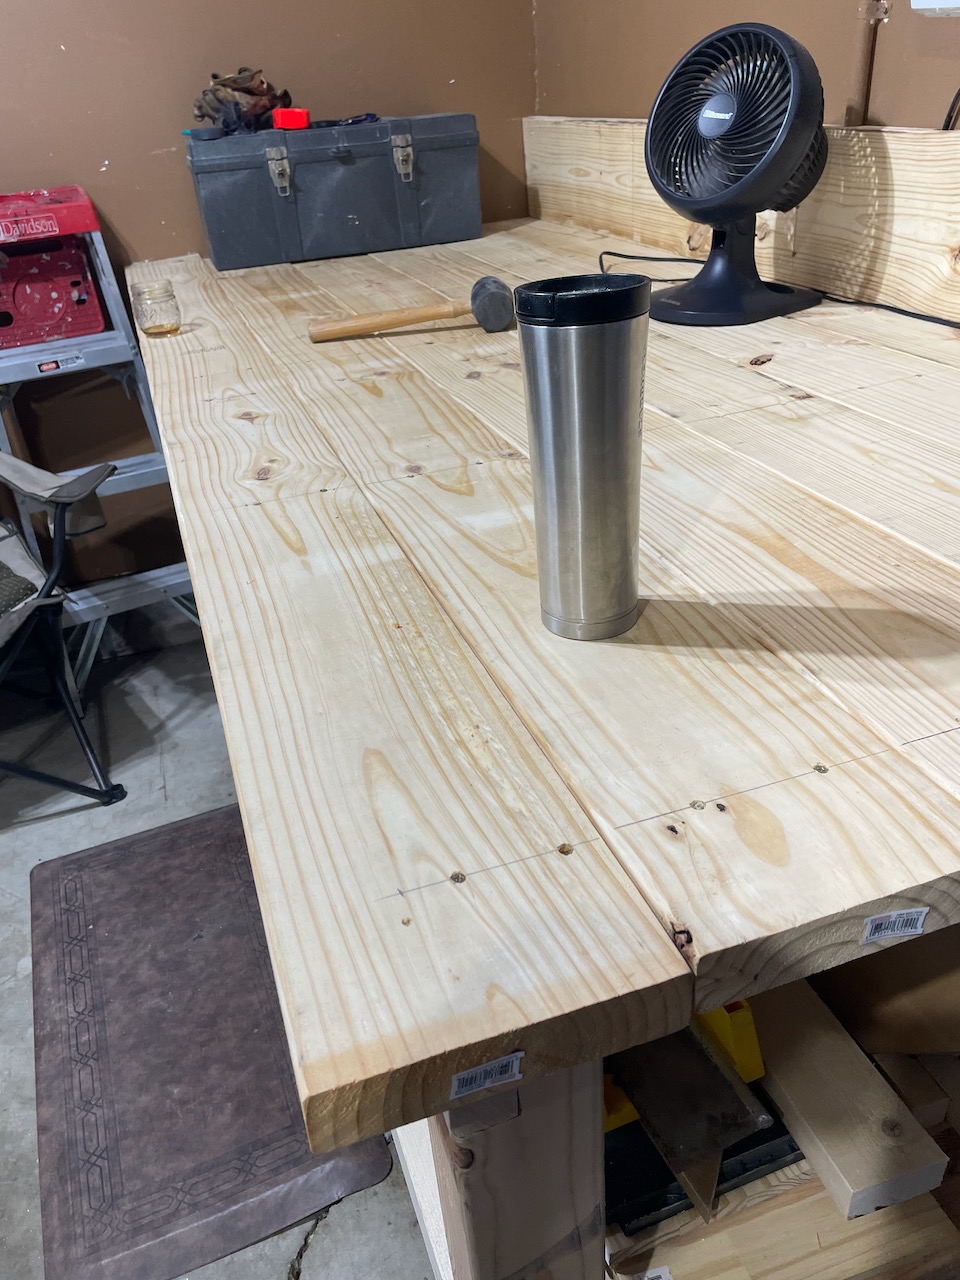
Once I turned the table and leveled it, I wanted it as flush as I could get it up next to the wall.

This was after I realized I needed more 2x8s.
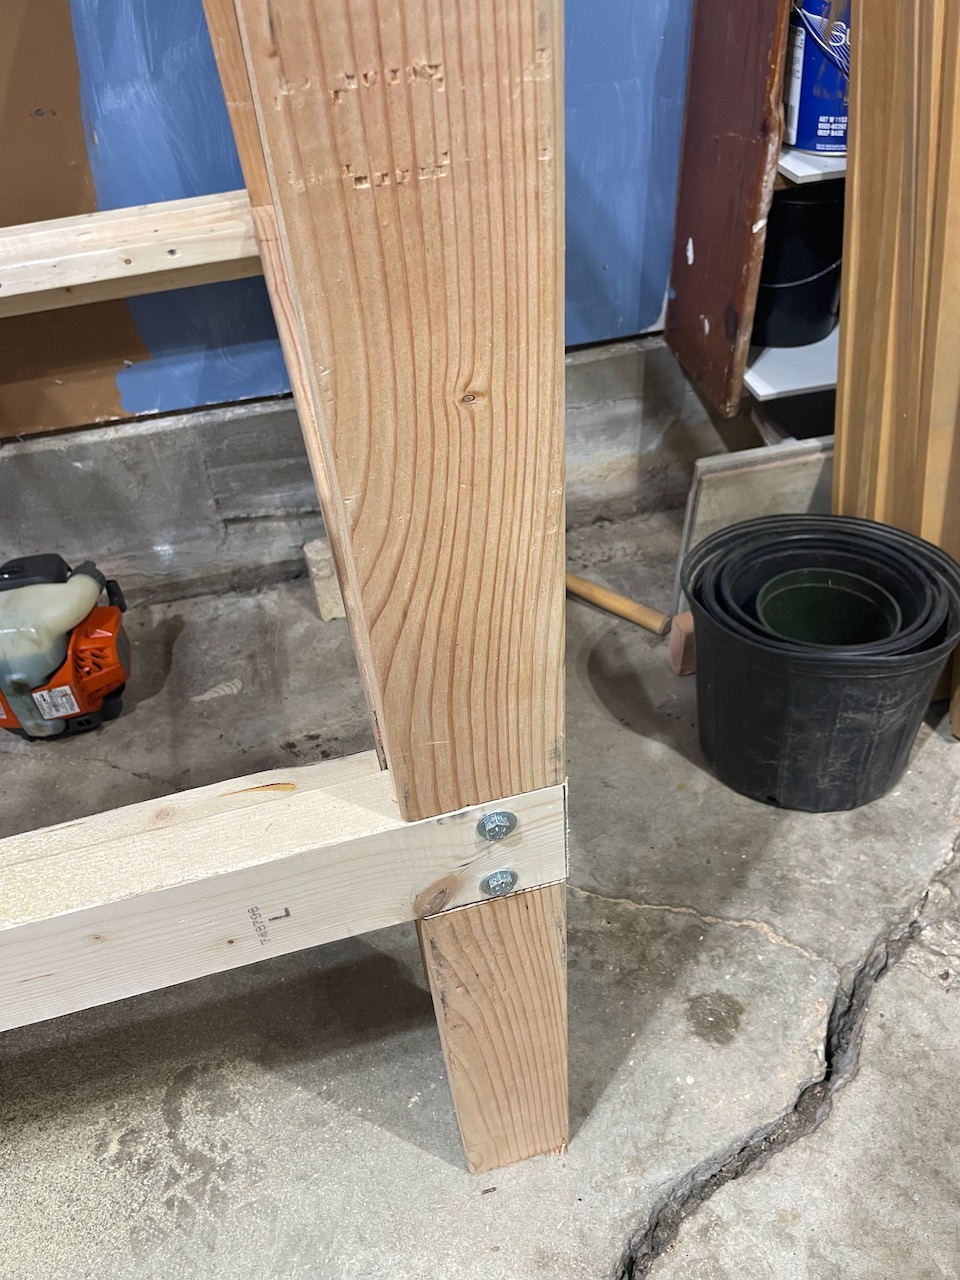
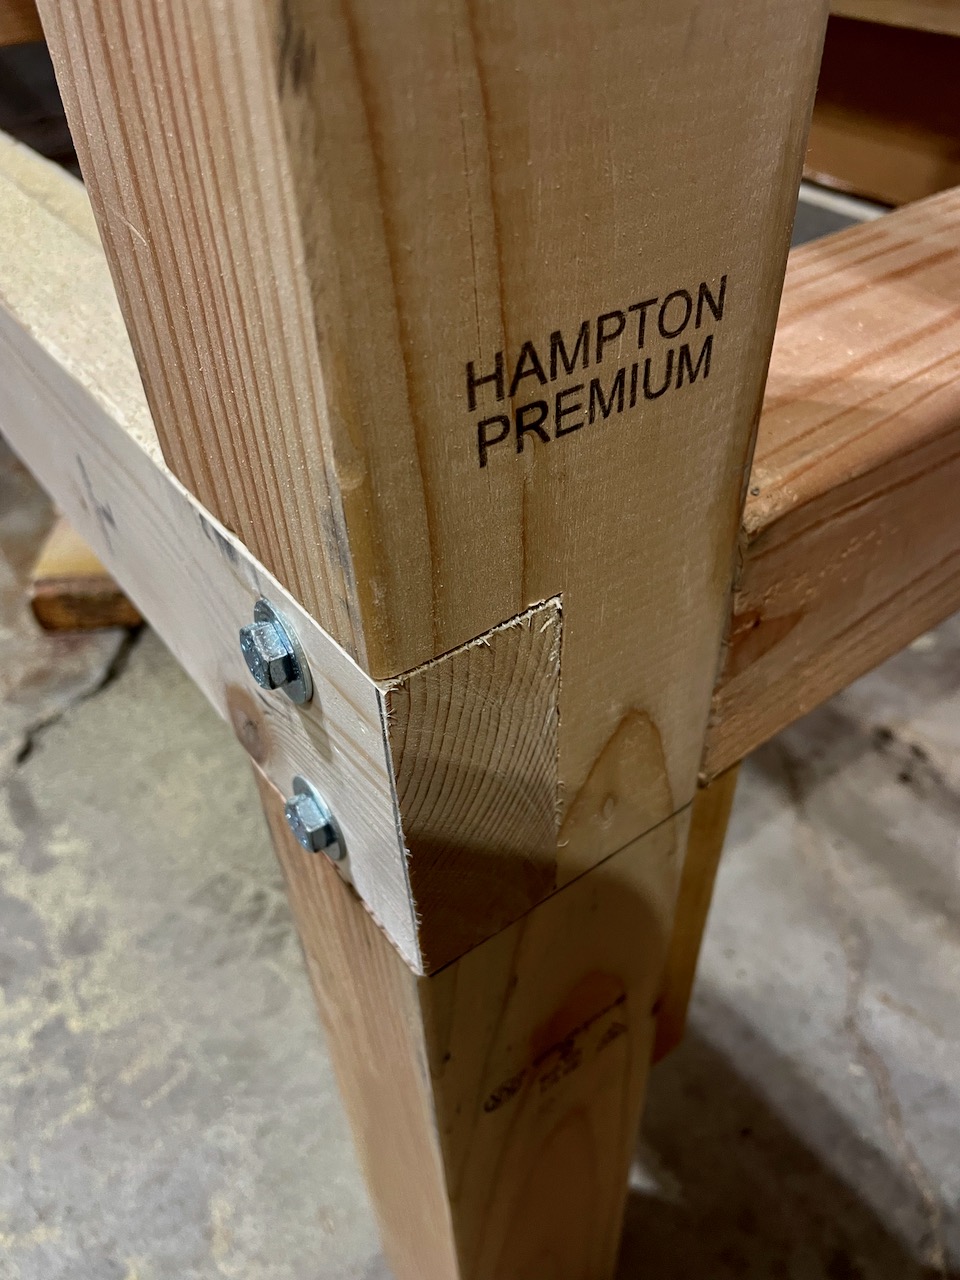
Notice how solid the joints are. I had a man in my church tease me saying it was over-engineered.
The final piece was the backsplash against the wall. It was an extra piece that I didn’t want to go to waste.

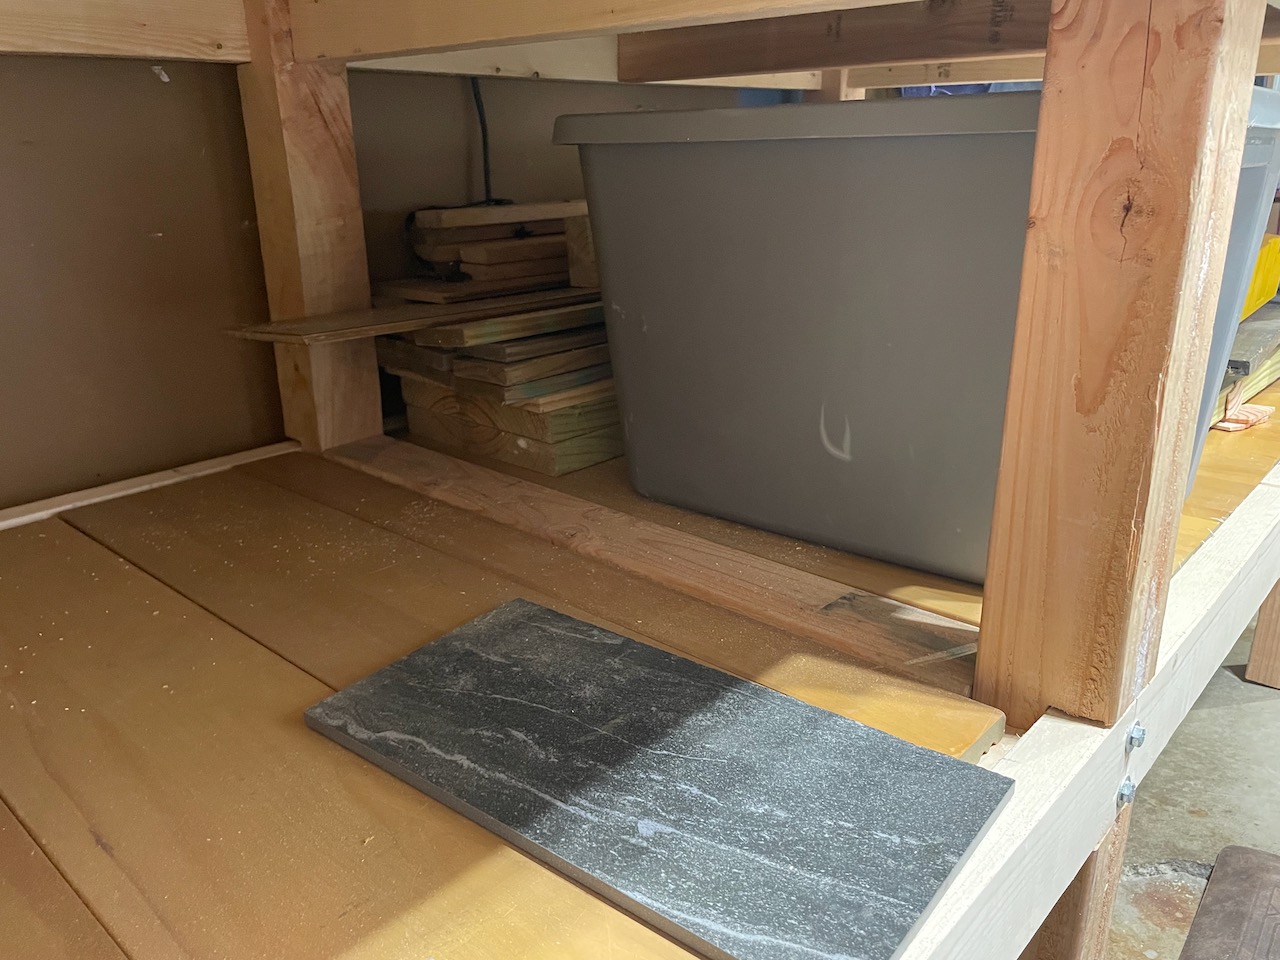
Looking underneath.
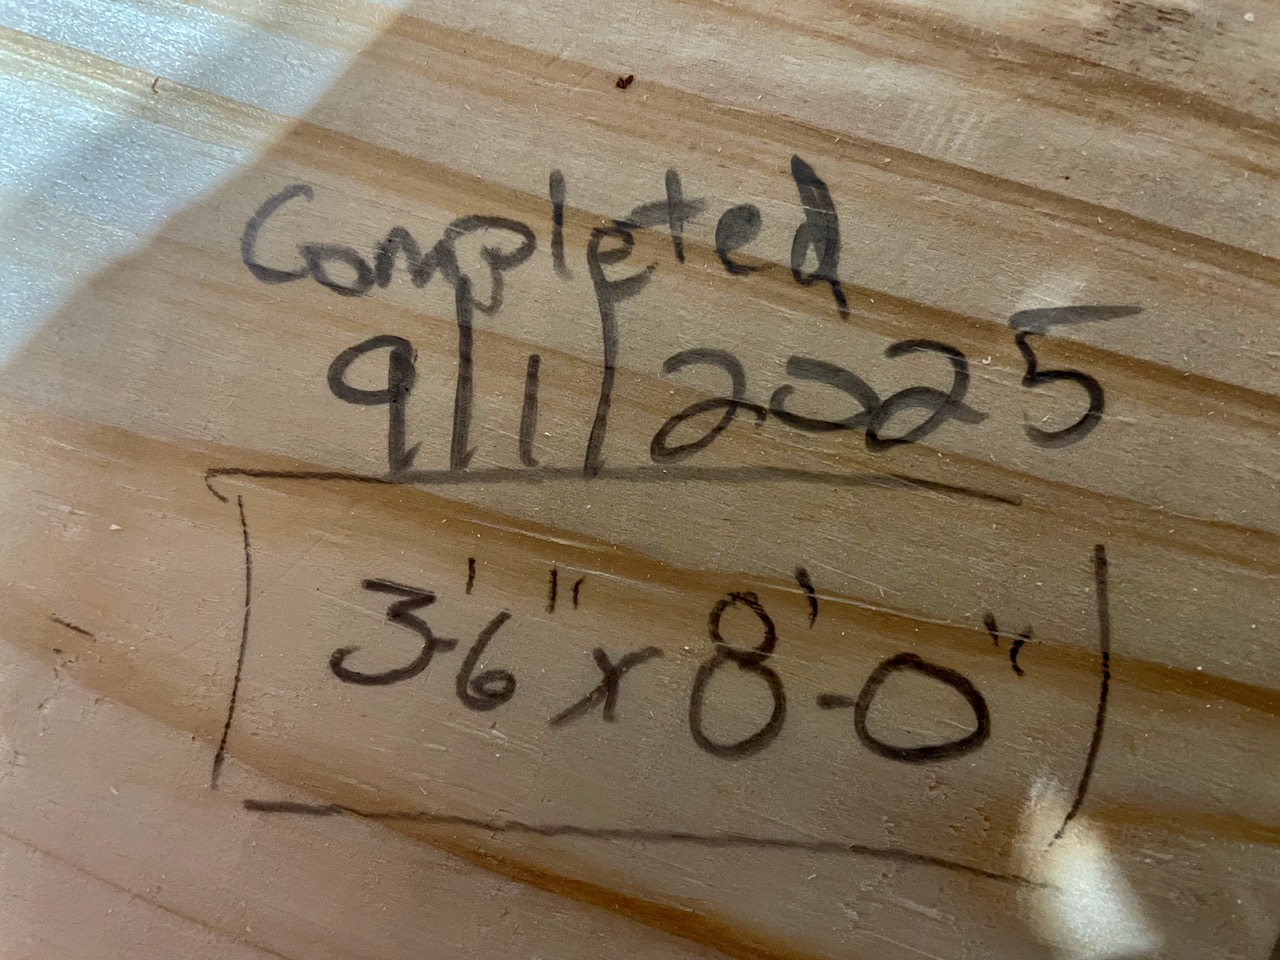
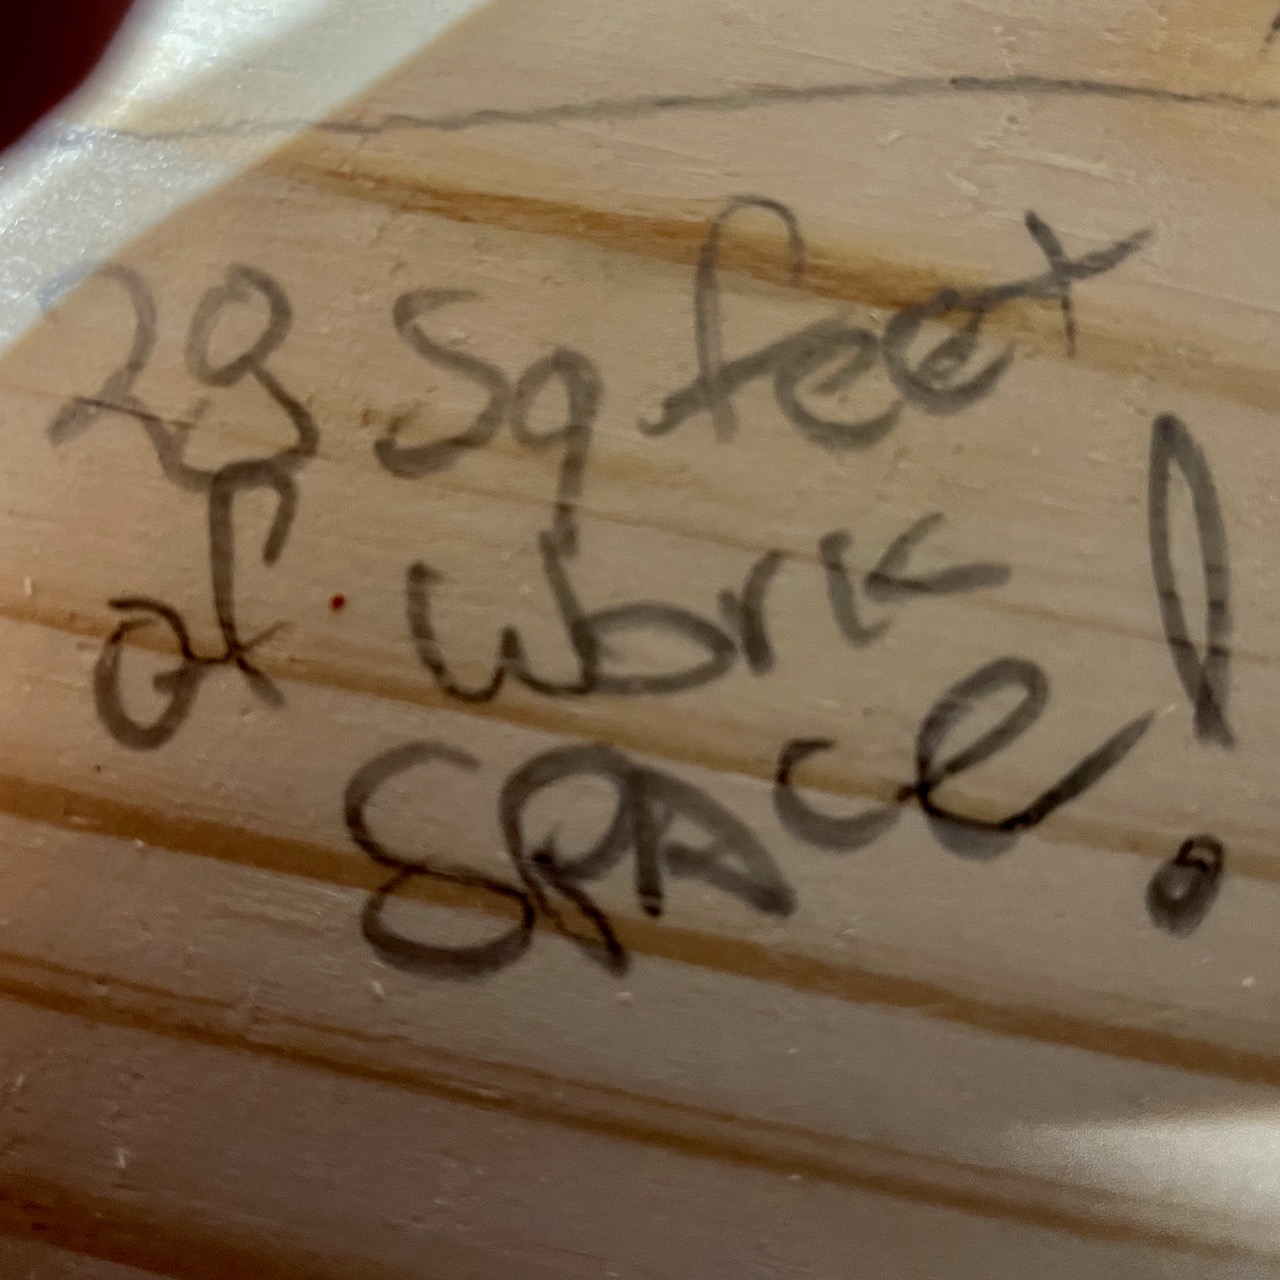
Declaring it done!
If you watch the video, let me know how close I came to duplicating the table. I will say that I made my table higher and deeper. Bigger is better!
All photos © Timothy J. Hammons, 2025.


Leave a reply to Timothy Cancel reply